Disclaimer: This payment gateway should be used for demo projects. The whole purpose of this blog is to show how to implement a demo PayPal payment checkout in sandbox mode inside your react applications.
The good thing about this integration is that the payment page is not embedded in your application which usually creates trust issues with the customers. In fact, it redirects to the sandbox.paypal.com
Step1
If you don't have an account on PayPal then first create an account on the official PayPal website with email-id and password.
Step2
Go to %[Link]developer.paypal.com/home and Login to Dashboard with the same email-id and password.
Step3
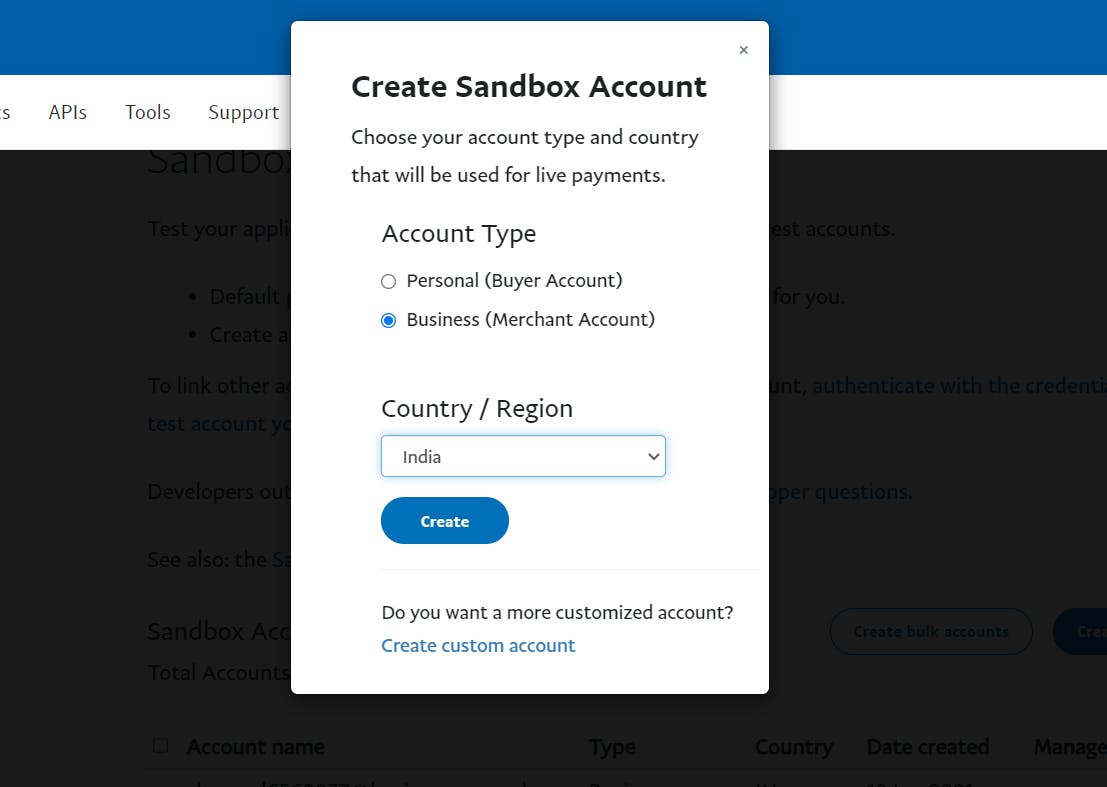
- Go to Accounts(left panel)
- Create an account
- Create a business account and select country accordingly

It will show 3 sandbox accounts, 2 default accounts(1 business & 1 personal) and 1 you just created(business).
Step4
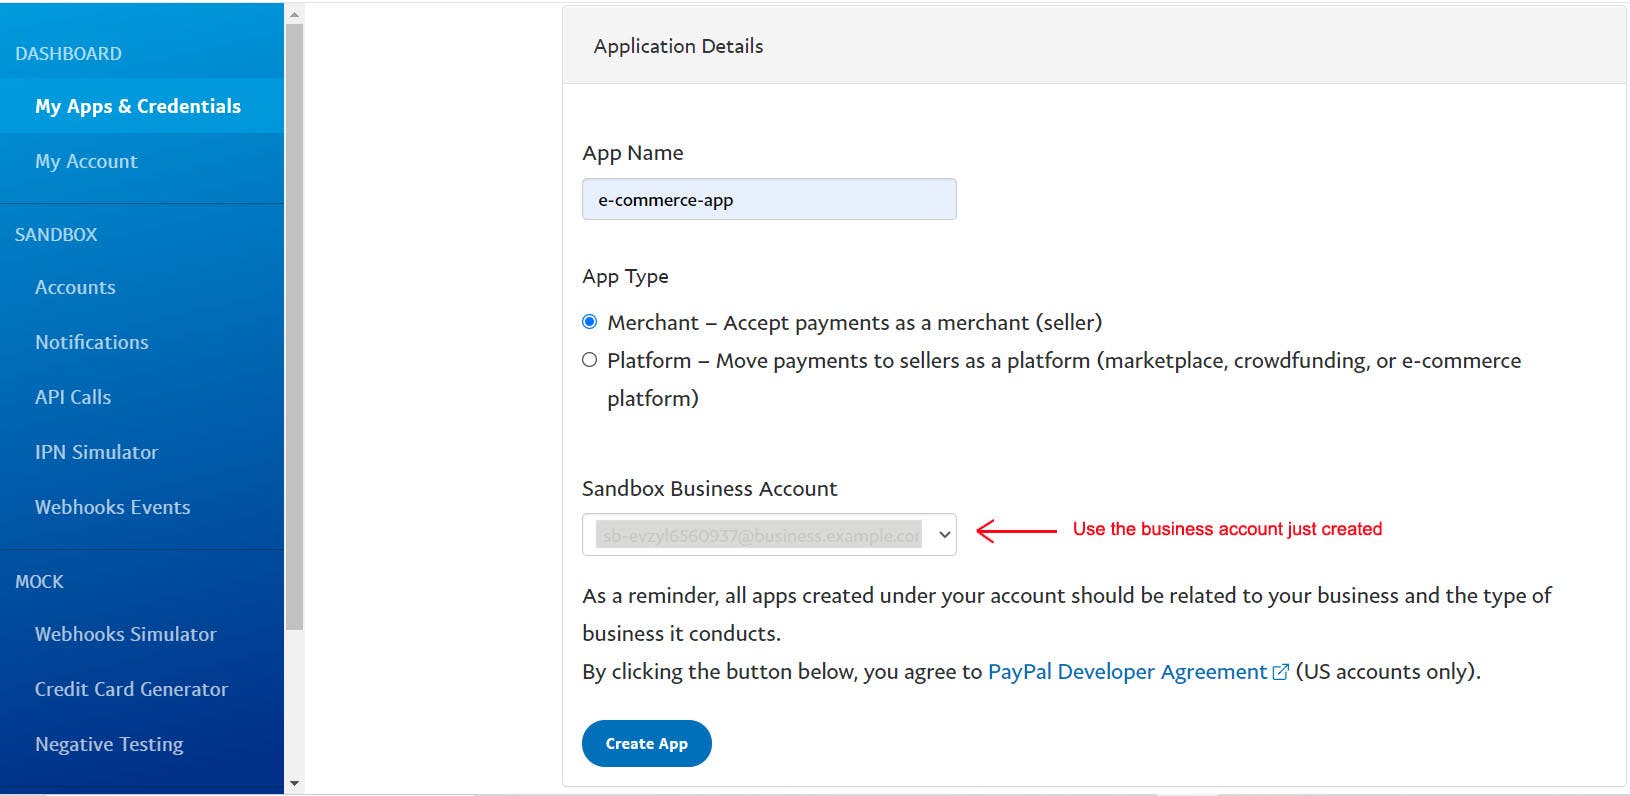
- Go to My Apps and Credentials(left panel)
- Create App
- Give a name for your app and choose the business account you just created.
 It will show 2 apps, 1 default and 1 you just created.
Step5
- Click on the app you just created
- Copy the Client ID and store it at someplace(we will be using this in our react app)
- Copy the below script file
<script src="https://www.paypal.com/sdk/js?client-id=YOUR_CLIENT_ID"></script>
This script tag is also present on the official website
%[Link]developer.paypal.com/docs/business/checkout..
Step6
- Open your react app -> public folder -> index.html
- Inside head tag add the above script tag
- Replace the YOUR_CLIENT_ID with your own client ID
- Also add ¤cy=INR after your client ID(Choose currency according to the country you chose while making the business account)
<script src="https://www.paypal.com/sdk/js?client-id=YOUR_CLIENT_ID¤cy=INR"></script>
We will not be installing any third-party npm package, instead, we will use the above script tag(CDN code) to create our PayPal Button
Step7
- For example let's create a component Checkout having price and desc as props.
- Then we will create a PayPal button first
import React from "react";
import ReactDOM from "react-dom"

const PayPalButton = window.paypal.Buttons.driver("react", { React, ReactDOM });

export const Checkout = ({price,desc}) => {
    return (
    <PayPalButton/>
  );
}
You might be thinking why are we using window object here. So once the script downloads the window object will have paypal in it. And the paypal has several functions with it, like Buttons.

Step8
- Now we will create two function createOrder and onApprove
- And call those function as callback within the PayPalButton we just made.
import React from "react";
import ReactDOM from "react-dom"

const PayPalButton = window.paypal.Buttons.driver("react", { React, ReactDOM });

export const Checkout = ({price,desc}) => {
  const createOrder = (data, actions) =>{
    return actions.order.create({
      purchase_units: [
        {
          description: desc,
          amount: {
            currency_code: "INR",
            value: price,
          },
        },
      ],
    });
  };

  const onApprove = (data, actions) => {
    return actions.order.capture();
  };

  return (
    <PayPalButton
      createOrder={(data, actions) => createOrder(data, actions)}
      onApprove={(data, actions) => onApprove(data, actions)}
    />
  );
}
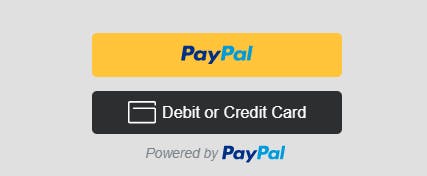
And that's it. Now we can make payments, just by clicking any of the buttons as preferred by the user.

You can add redirects inside onApprove function, to redirect user to a preferred URL on successful payment.
Conclusion
This was a small tutorial blog to create a simple PayPal checkout functionality in a sandbox mode inside a react app. This doesn't include live mode functionality and authorization. So I highly recommend you to read the official PayPal developer website for more advanced stuff. %[Link] developer.paypal.com/docs/business
Thank you for reading😊.
